
After building my 36 key keypad, I realised I barely used most of the keys. It felt like overkill. There were also a few things I wanted to trigger on another PC, like forcing a hard reload or typing the current date in a specific format.
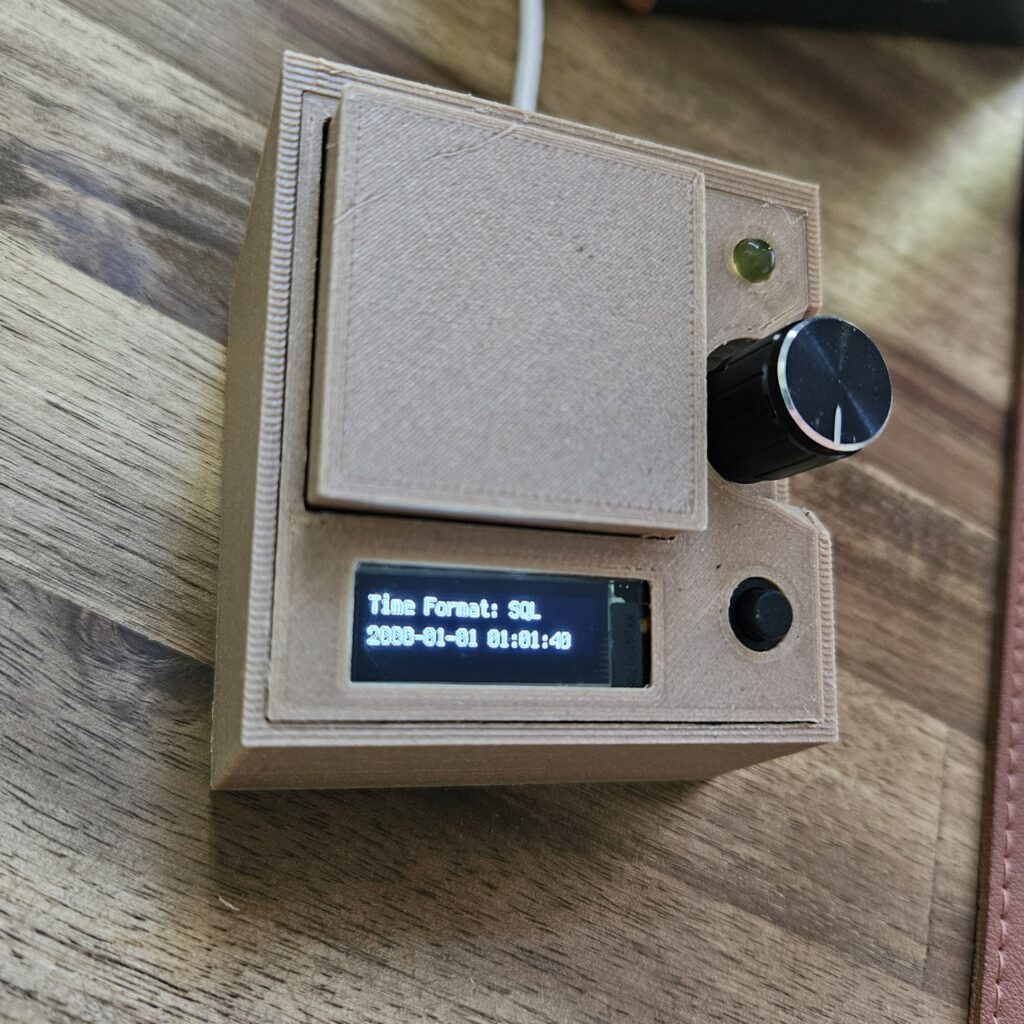
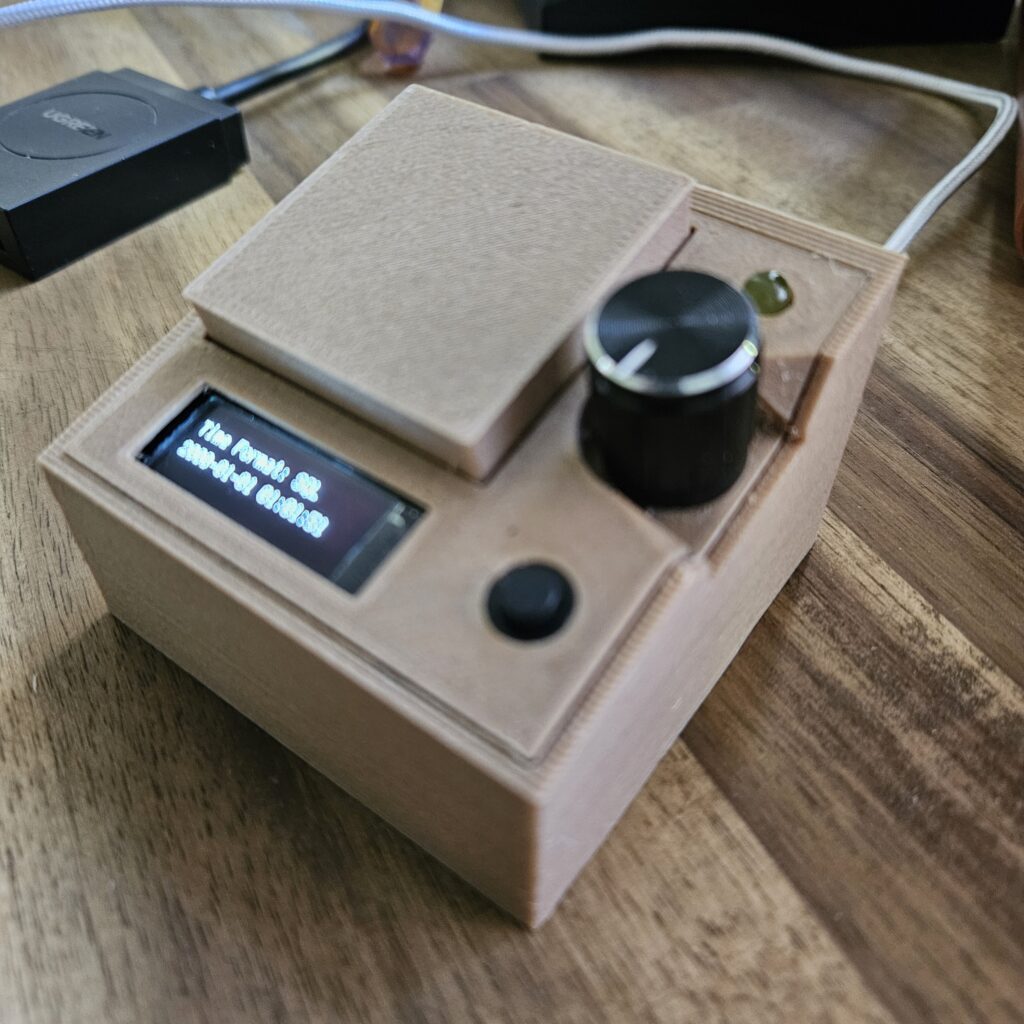
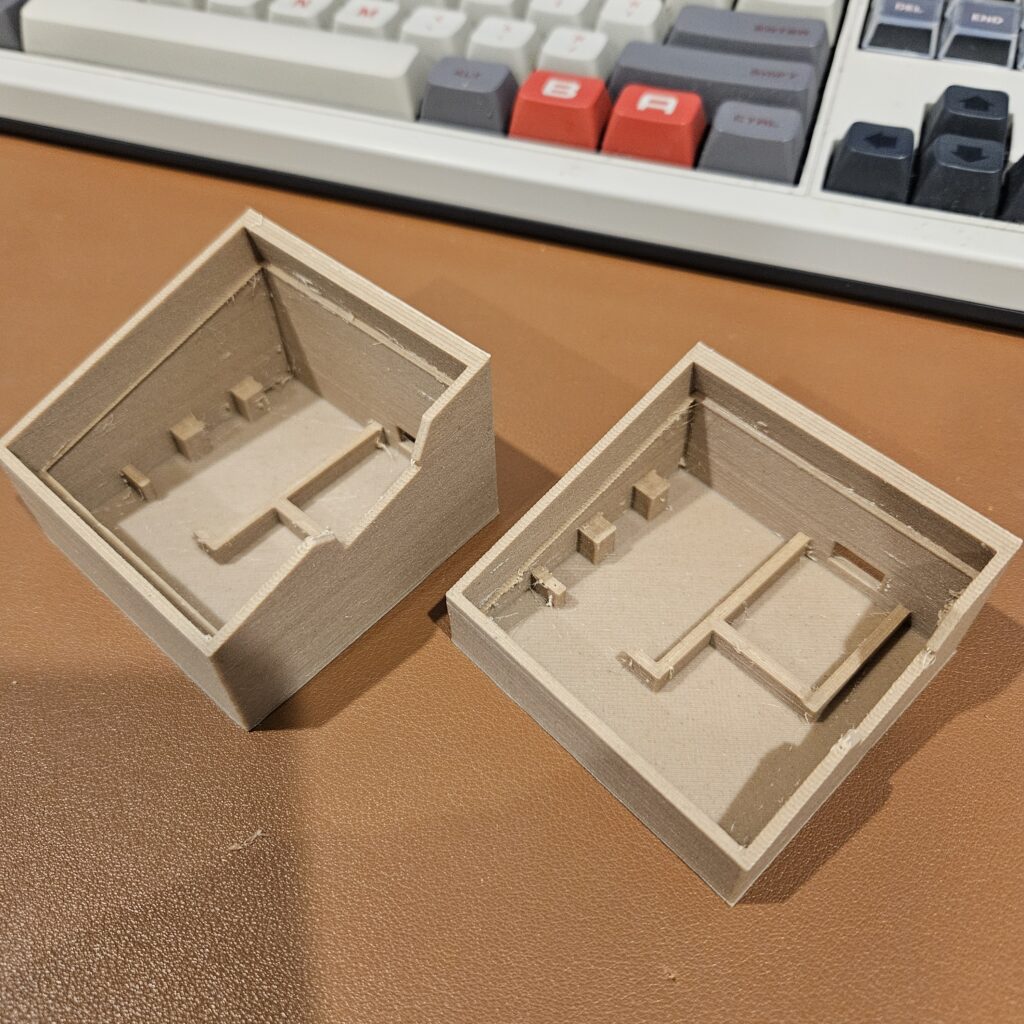
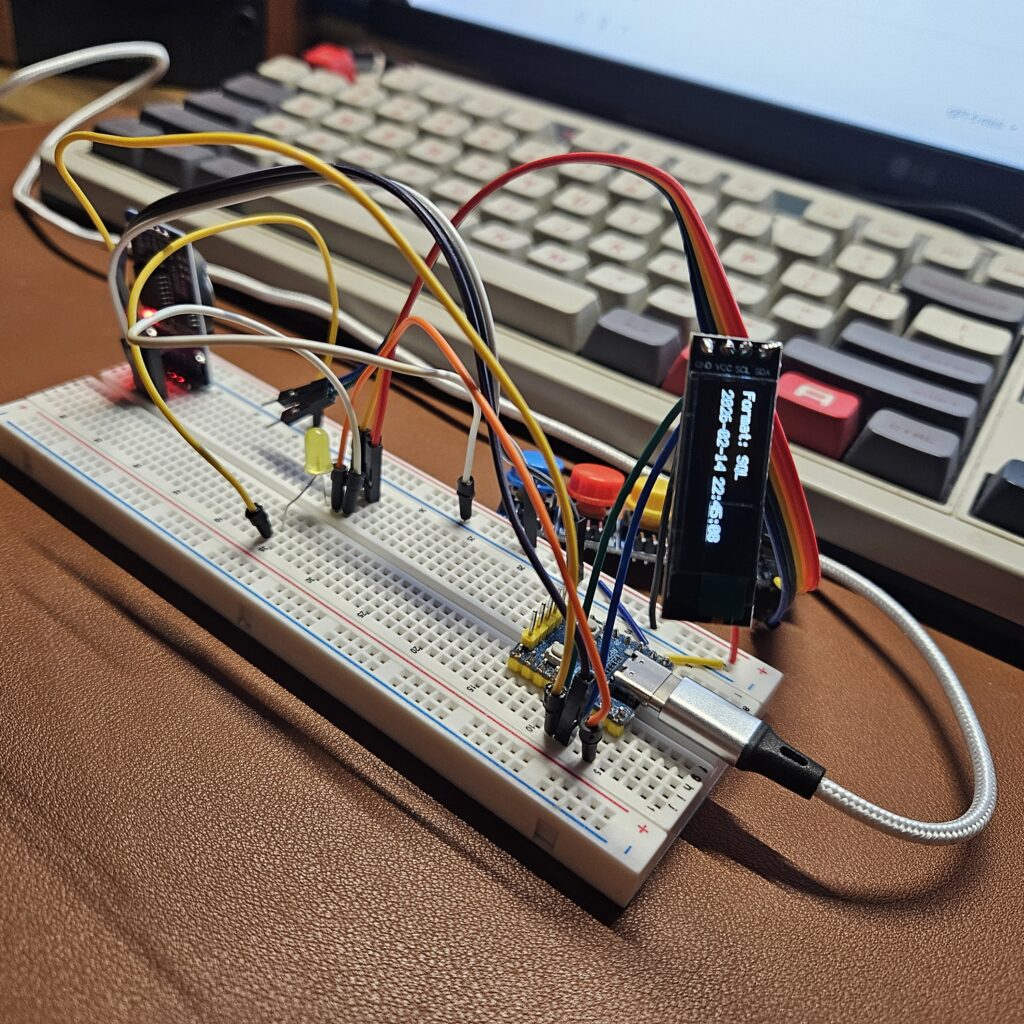
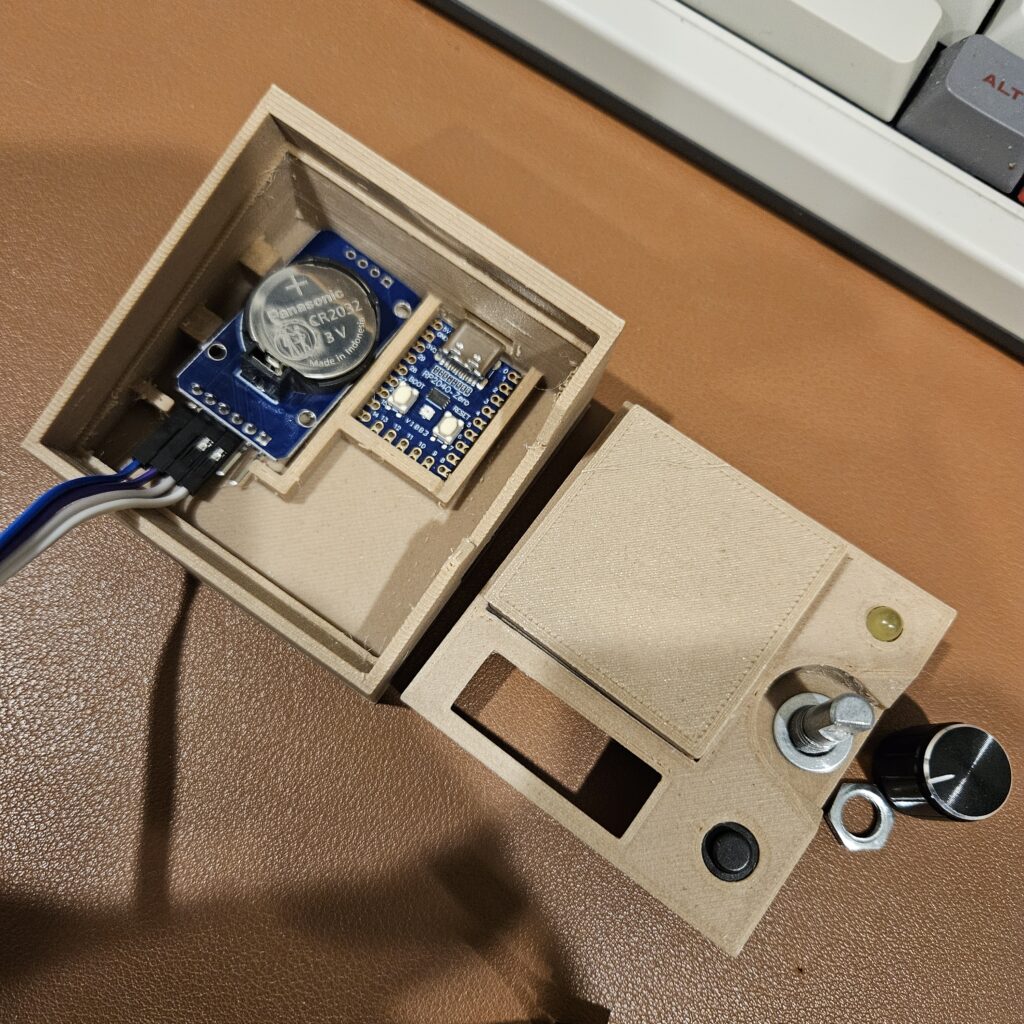
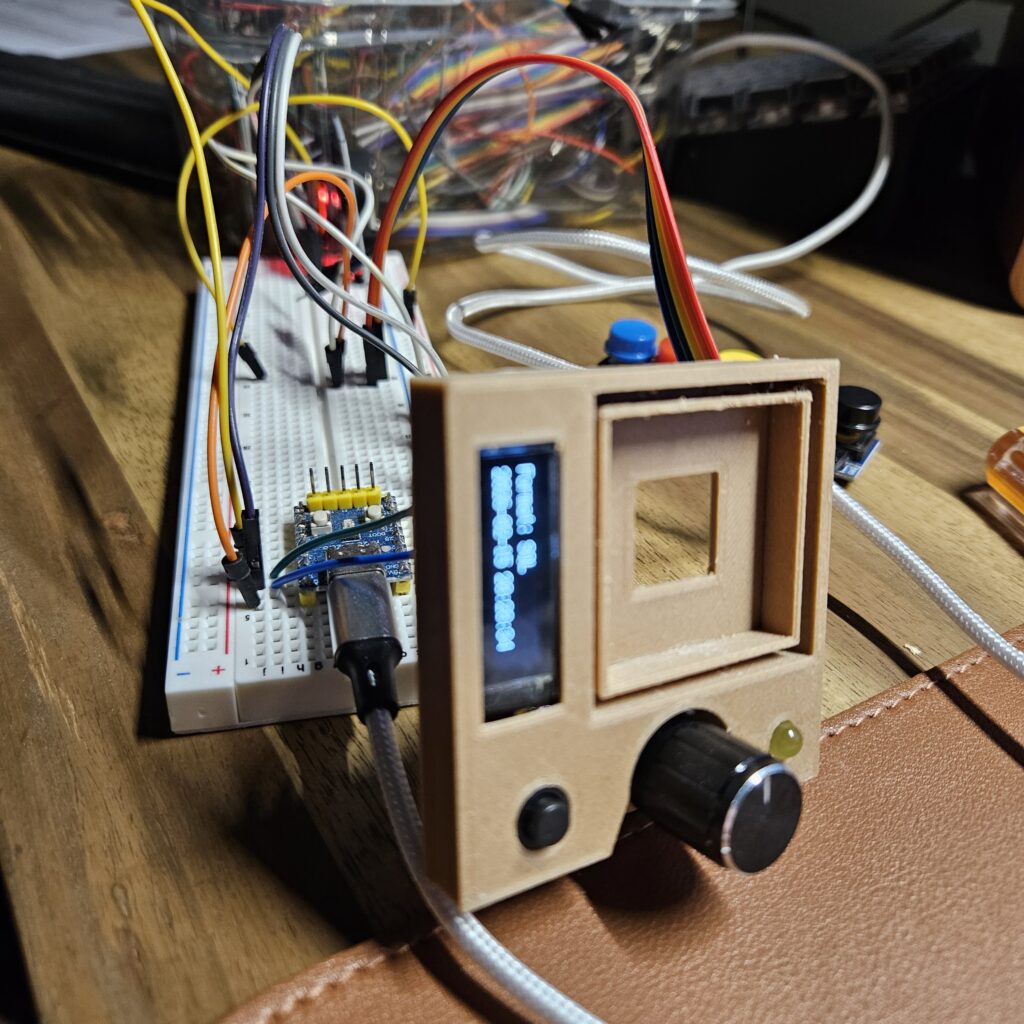
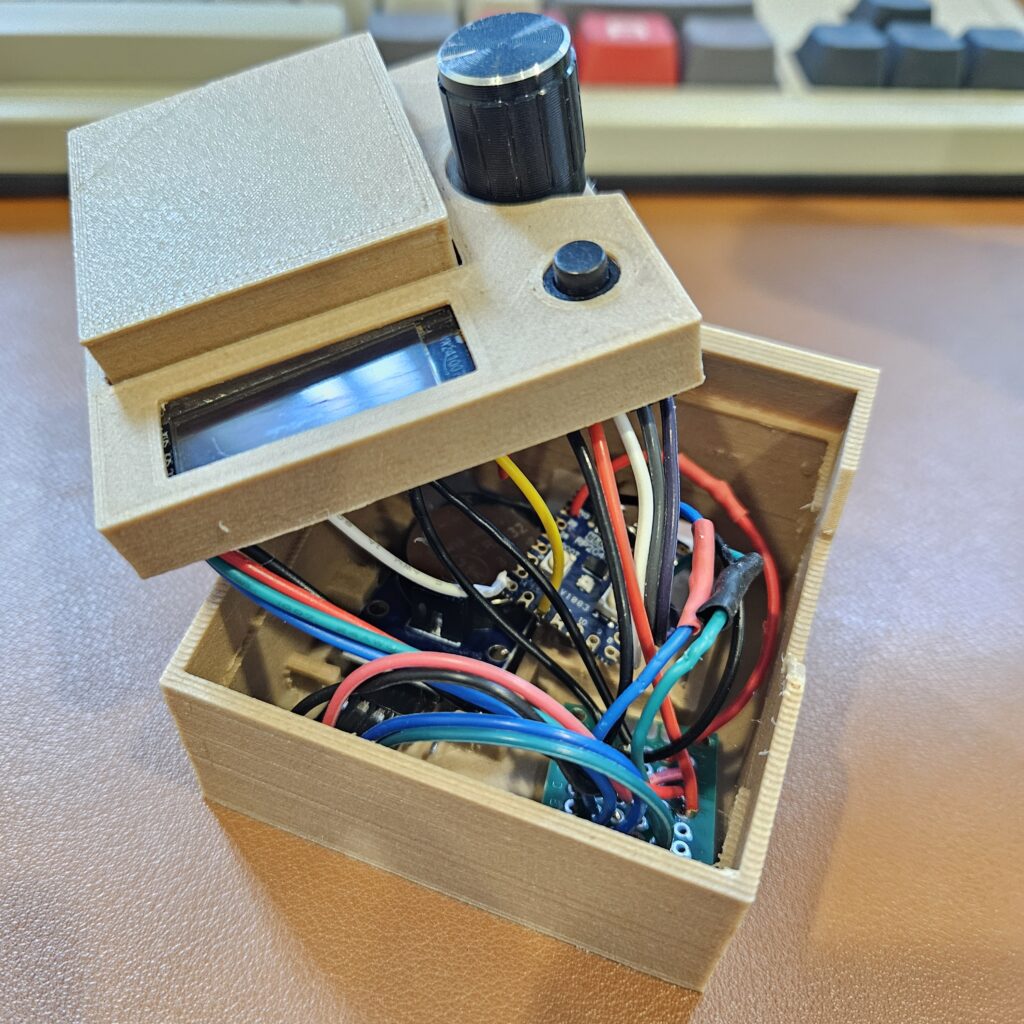
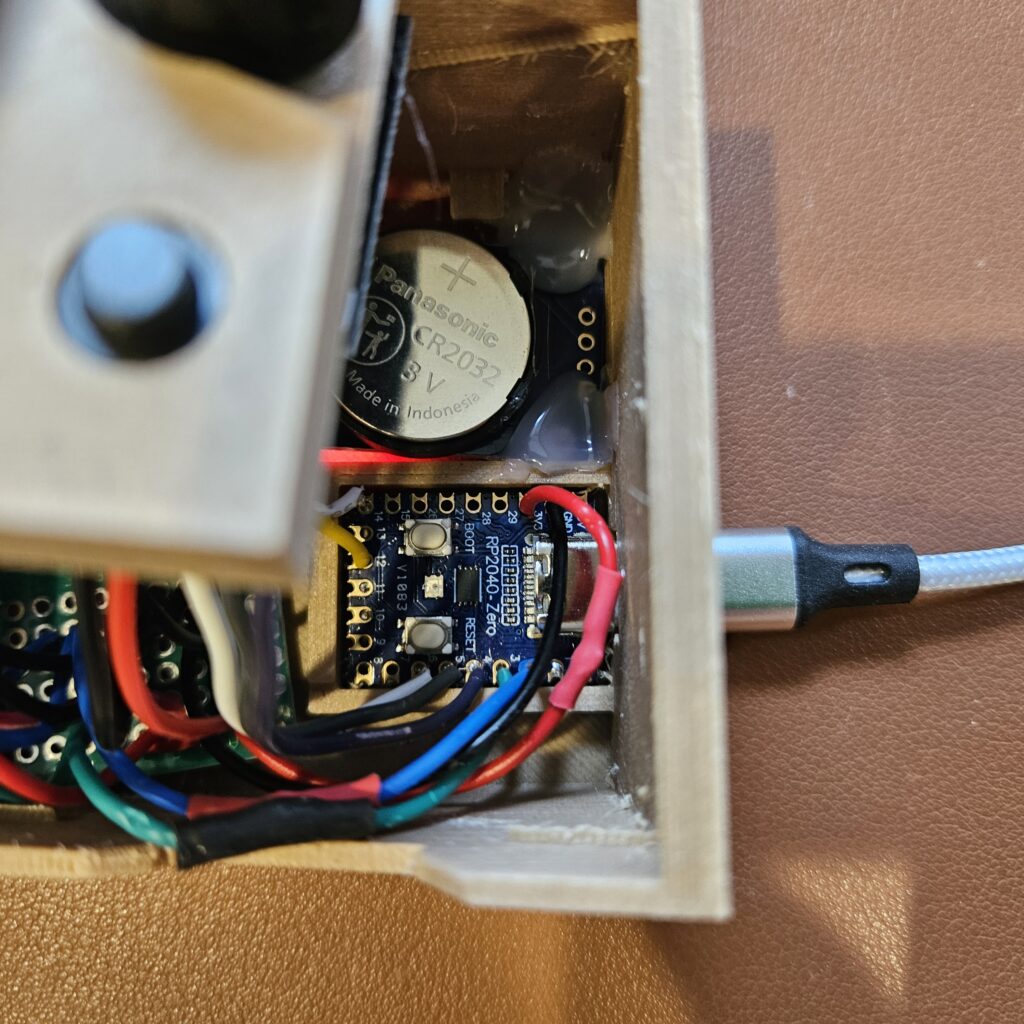
This version is much more focused: one big key, a rotary encoder, a small screen, a real-time clock module plus a raspberry pi pico rp2040 microcontroller in a zero form factor. I mainly wanted an excuse to try adding a display and RTC, and both were easier to implement than expected. GitHub Copilot generated most of the code, which sped things up significantly.
The rotary encoder click changes modes. Rotating it cycles through options within that mode. Pressing the large key executes whatever is currently selected. The screen always shows exactly which mode and option are active, so there is no guesswork.
There is a time mode that types the current time as keyboard input. I set it up with three formats: SQL (YYYY-MM-DD HH:MM:SS), a more human-readable format, and a 10 digit Unix timestamp. It outputs as standard HID keyboard input, so it works anywhere text can be entered.
There is also a small set of utility functions. Screenshot mode works in two steps. The first press triggers the screenshot tool and allows cropping. The second press confirms with Enter. I also added a shortcut to lock the PC.
Sound control is simply a mute and unmute toggle.
Then there is an F key mode:
- F5 is mapped to
Ctrl + Shift + Rfor a proper hard reload without cache. - F11 toggles fullscreen.
- F12 opens browser developer tools.
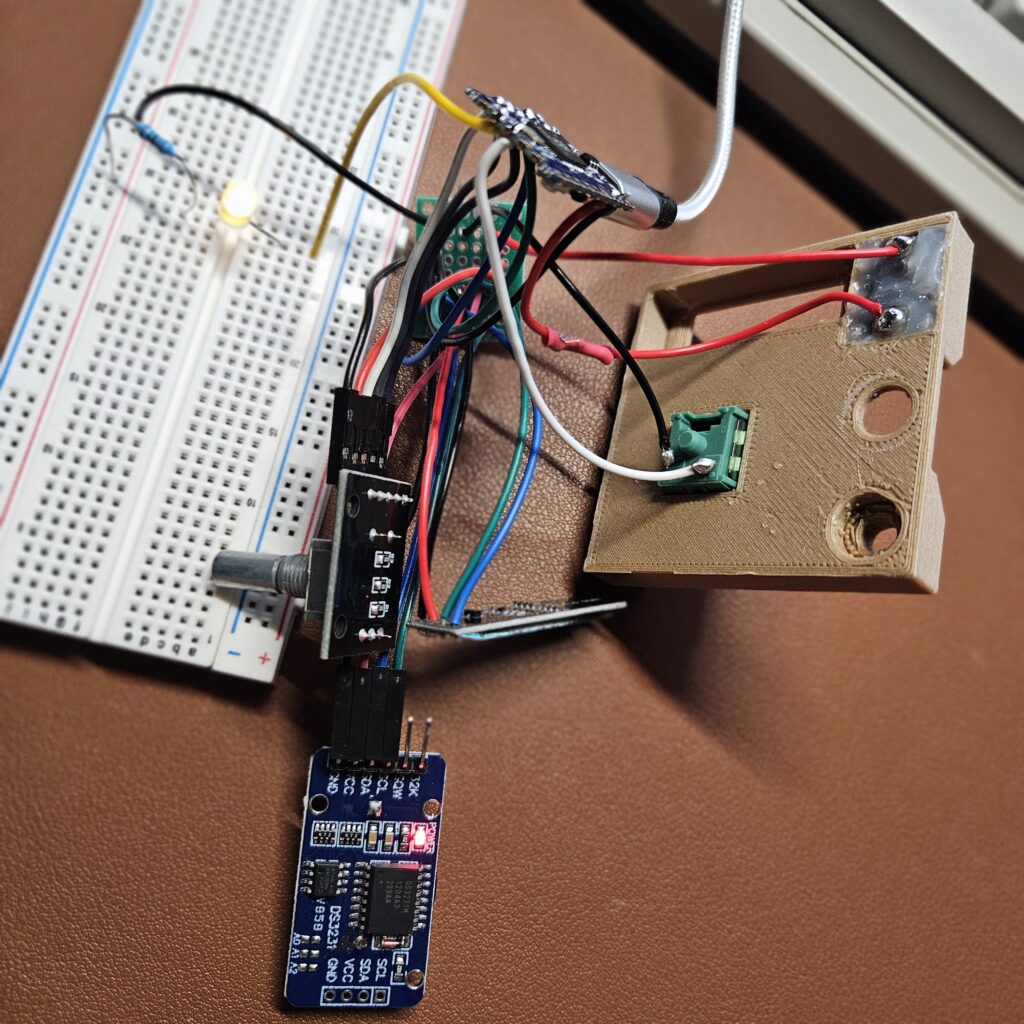
I added a mode that turns off the screen and LED. Originally, I installed a small push button in the bottom left of the case to power the device off. I followed AI attempting to add resistors in certain places, but rather than go in loops, I just ended up removing that functionality for the build, while leaving the button un-functional in the case.
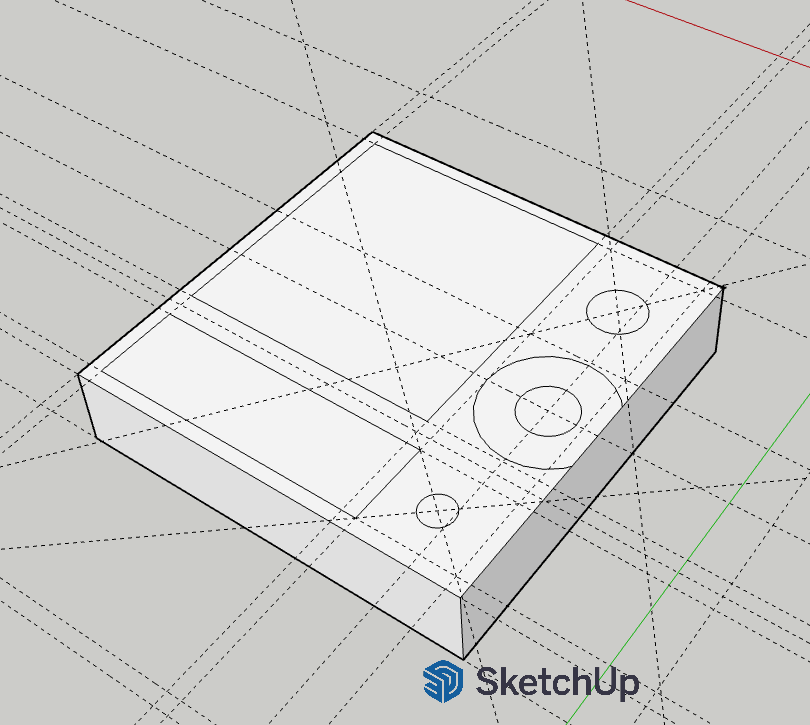
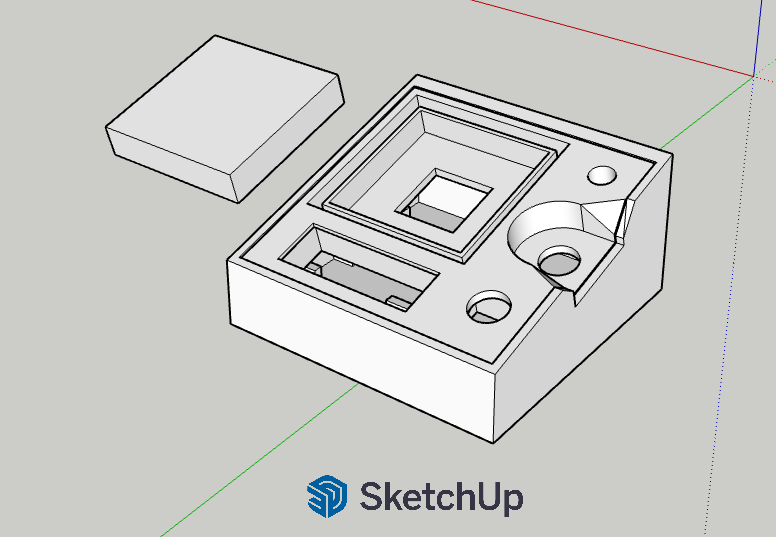
Design Process